| Support pcileech, pcileech-fpga, memprocfs and ufrisk: https://github.com/sponsors/ufrisk |
Building and flashing pcileech-fpga firmware for LambdaConcept’s PCIe Squirrel with on Ubuntu 24.04.1
This is the procedure I used on my x86_64 computer running Ubuntu 24.04.1.
Note: My version of Vivado (2024.1) warns that Ubuntu 24.04.1 isn’t officially supported by the version of Vivado.
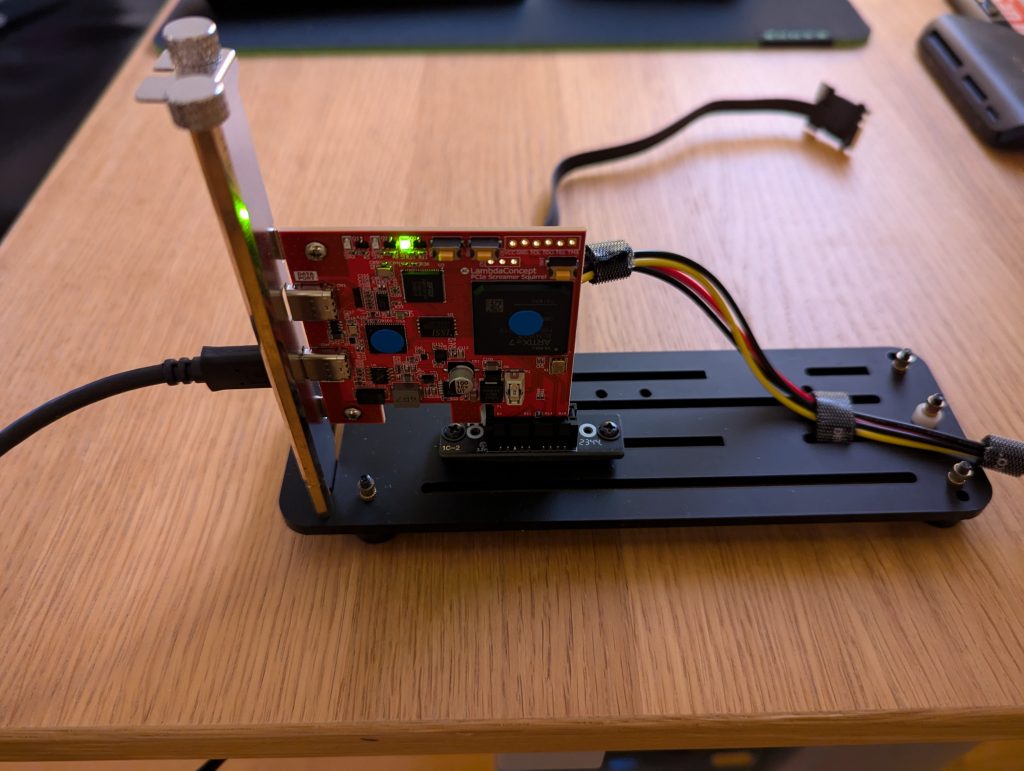
My FPGA-device (“PCILeech”-device) is a LambdaConcept Screamer PCIe Squirrel.
The instructions below is what worked for me 2024-11-01, YMMW.
Building the firmware
Installing Vivado (required to compile the firmware)
1) Visit the instructions on pcileech-fpga for PCIe Squirrel for how to build the latest firmware.
2) As per the instructions above (2024-11-01) we need to download “Xilinx Vivado WebPACK 2023.2 or later”.
Get ready because this is a daisy.
Disk space which was required: 80.32GB.
2.1) Visit https://www.xilinx.com/support/download.html
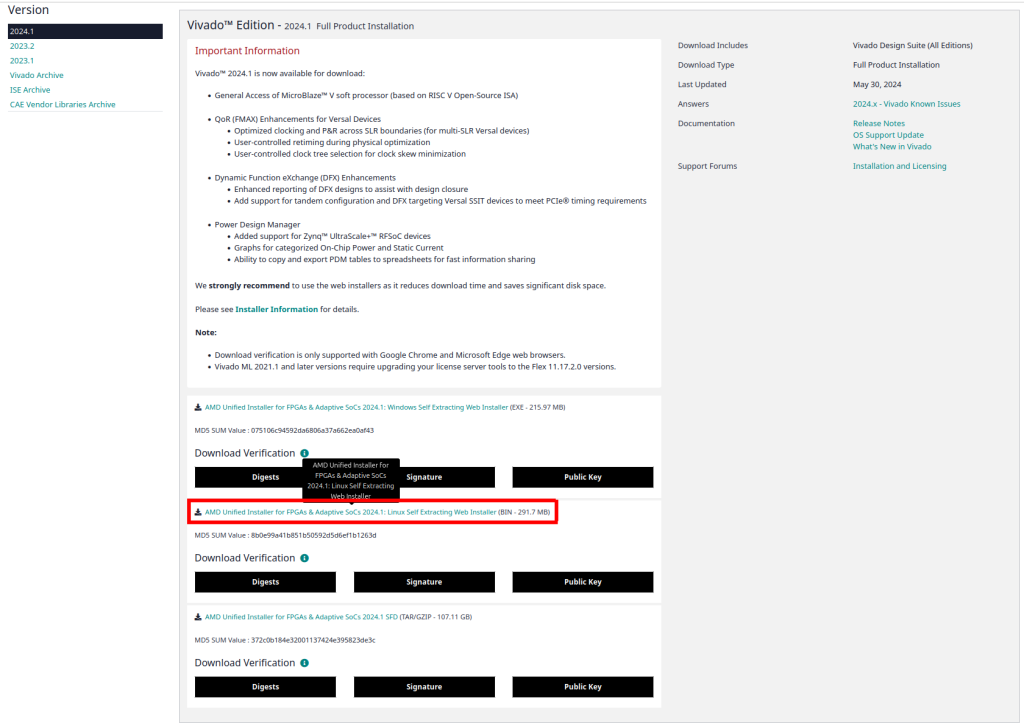
2.2) Download the latest version of “Vivado™ Edition”, I used:
“AMD Unified Installer for FPGAs & Adaptive SoCs 2024.1: Linux Self Extracting Web Installer“
which was the latest at the time of writing.
2.3) Create an AMD-account if you haven’t (which is required to download)
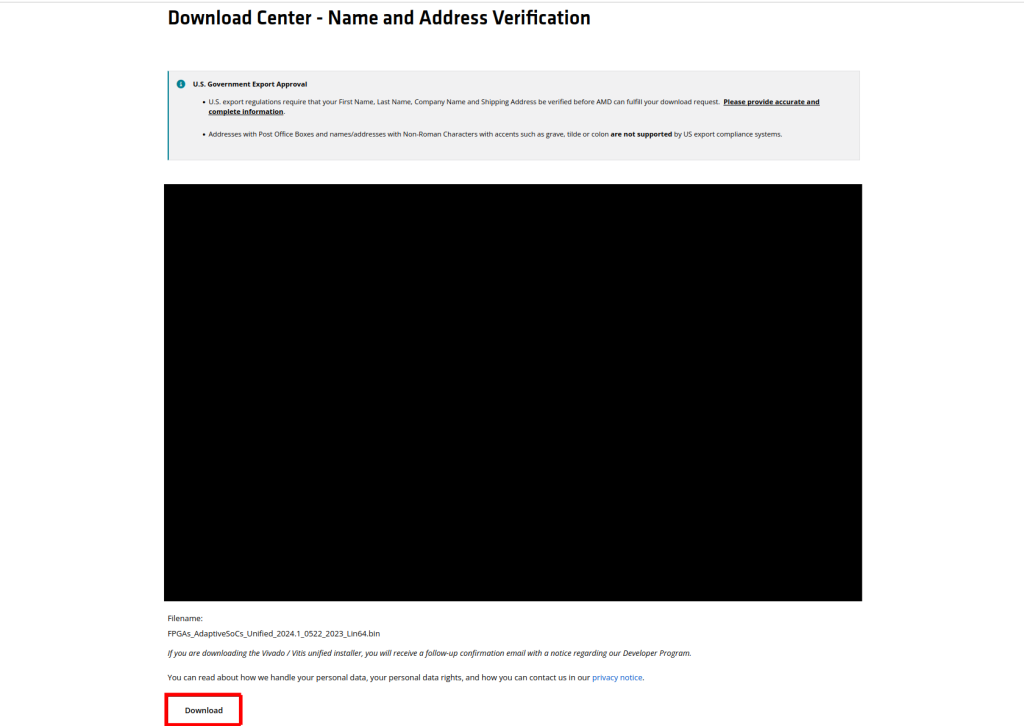
2.4) Fill out the “Download Center – Name and Address Verification” and click “Download”
2.5) Install necessary dependencies (thanks “Light Log“):
sudo apt update
sudo apt install libtinfo-dev
sudo ln -s /lib/x86_64-linux-gnu/libtinfo.so.6 /lib/x86_64-linux-gnu/libtinfo.so.5

sudo apt install libncurses5-dev
2.6) Make the downloaded “.bin” executable:
chmod +x FPGAs_AdaptiveSoCs_Unified_2024.1_0522_2023_Lin64.bin2.7) Run the installer:
./FPGAs_AdaptiveSoCs_Unified_2024.1_0522_2023_Lin64.bin2.8) Please note that “Vivado 2024.1” mentions that Ubuntu 24.04 requires “Additional libraries” without mentioning WHICH libraries (see “2.5”)
For more info see 63794 – Install – What Ubuntu files are required for Vivado to run successfully?

2.9) Enter the same credentials as you used to download the binary (your AMD-account) and select “Download and Install Now”

2.10) Select “Vivado”

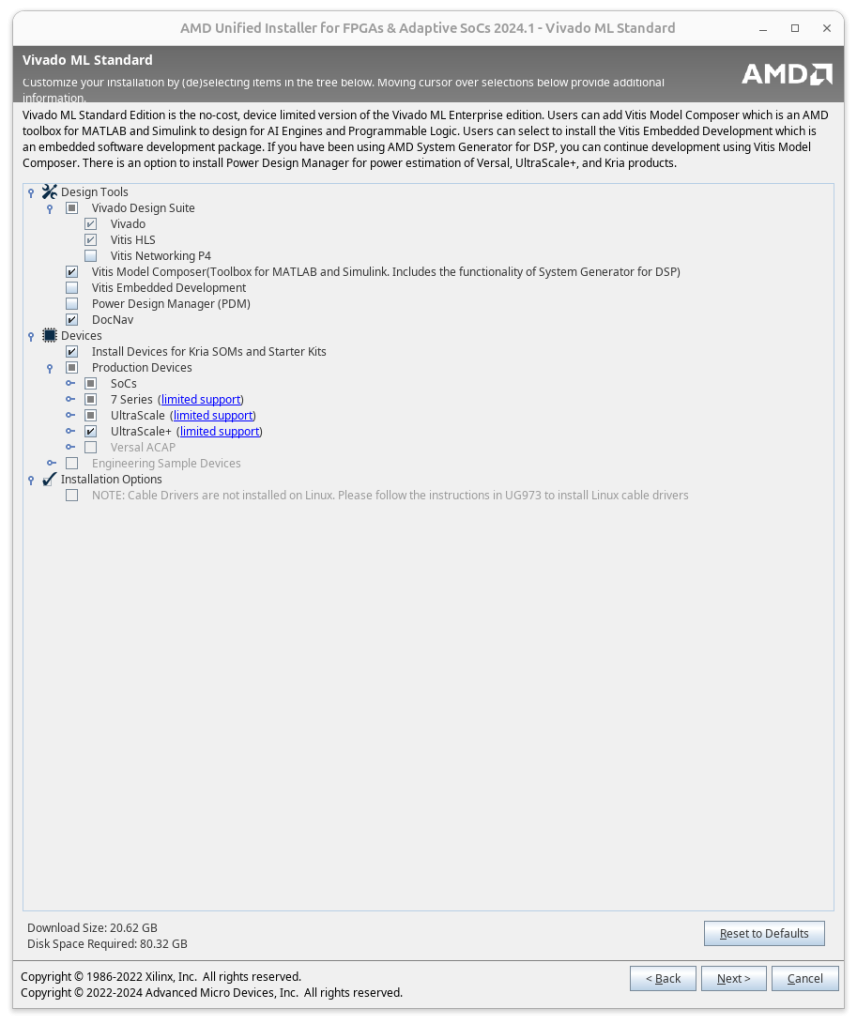
2.11) Select “Vivado ML Standard”
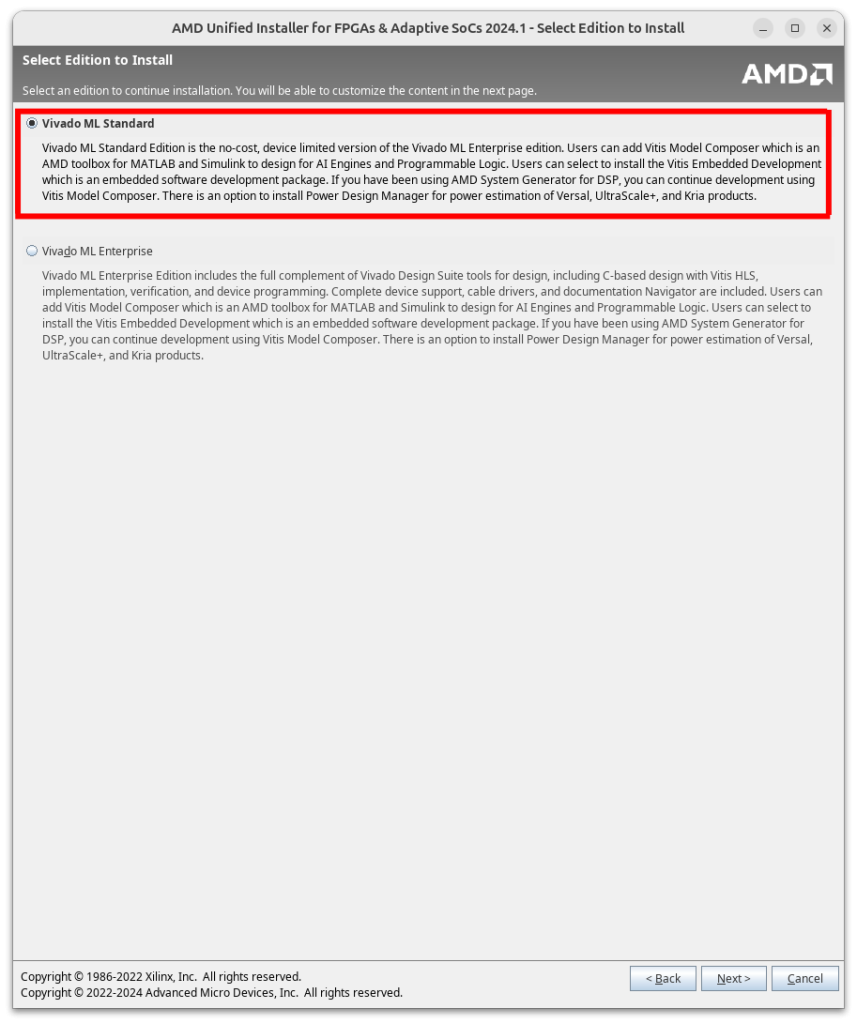
2.12) Leave the default options as-is
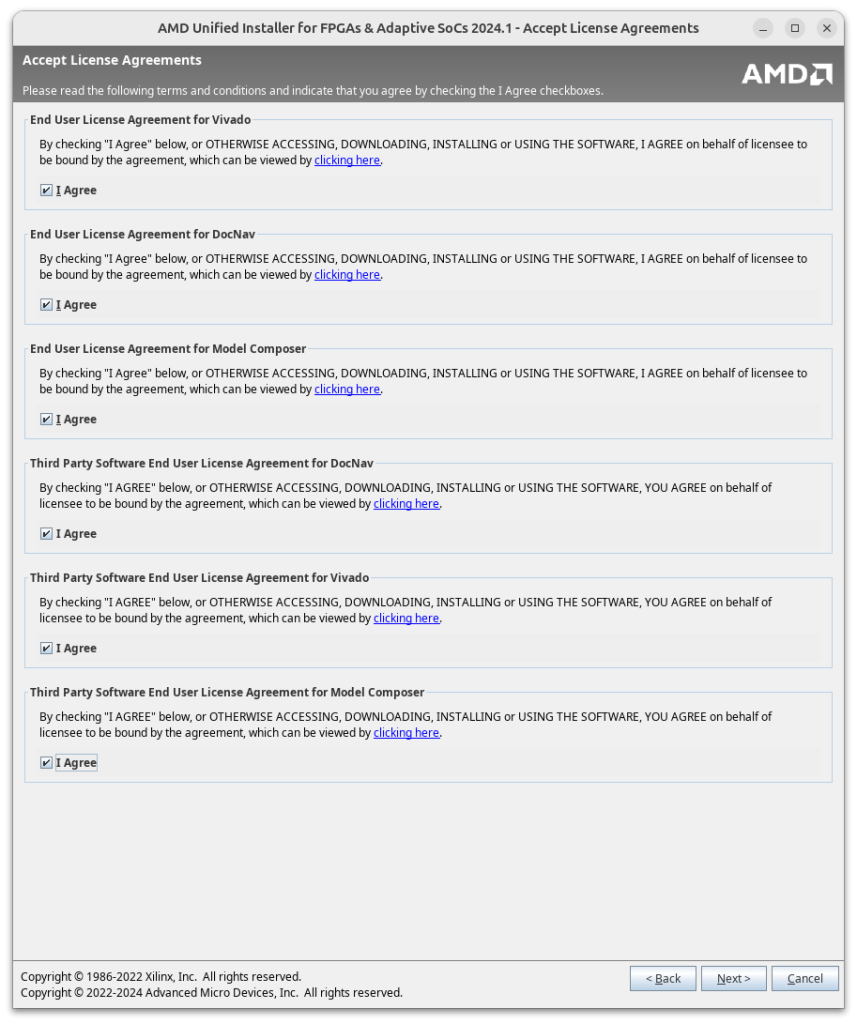
2.13) Read and agree (if you agree) to the various licenses
2.14) The size requirement (for me) was around ~ 80GB (with a “Final Disk Usage” of ~45GB).
I am unsure what to de-select to slim down the installation and lessen the installation size since there isn’t any mention of “Webpack” (see “2.12”) anywhere in the de-selectable modules that are installed.


NOTE
If you are stuck at “Generating installed device list” then it is possible you haven’t installed “libtinfo-dev” and/or created a symlink (see “2.5”)
Before I found out the post from “Light Log” it happened to me as well.
I decided to remove the directory “/tools”, installed the dependencies and re-ran the installer.
If bandwidth is an issue he mentions how to move on without re-downloading all files.
2.15) In the Terminal after successfully installing Vivado:
sudo /tools/Xilinx/Vivado/2024.1/data/xicom/cable_drivers/lin64/install_script/install_drivers/install_drivers

source /tools/Xilinx/Vivado/2024.1/settings64.sh
Compiling the actual firmware
1) Download the latest release of pcileech-fpga (in my case “4.15”) and extract the zip
2) As per ufrisk’s instructions on PCIeSquirrel:
2.1) In the Terminal enter the “PCIeSquirrel”-subdirectory of your extracted zip, in my case:
~/Downloads/pcileech-fpga-4.15/PCIeSquirrel
and while in that directory run the following command:
vivado -mode tclwhich will enter the “Vivado TCL Shell”.
2.2) While in the “Vivado TCL Shell”:

source vivado_build.tcl -notraceit took me:
~ 6min on my AMD 7800X3D (8C/16T, 4.2GHz) w. 32GB of RAM
~ 7.5min on a Dell 7820 w. 2* Intel Xeon Silver 4208 @ 2.10GHz w. 16C/32T in total for both CPUs and 128GB RAM
Mentioning this since ufrisk mentions that:
“Building the project may take a very long time (~1 hour).”
Just to give you a reference point.
Flashing the firmware
Installing OpenOCD (required to flash the firmware)
1) Install dependencies for building OpenOCD:
sudo apt install make libtool pkg-config2) Install “libftdi” drivers (unsure if this is needed although mentioned in OpenOCD’s README):
sudo apt install libusb-1.0-0-dev libconfuse-dev libftdi-dev3) I also downloaded “libftdi1-1.5.tar.bz2” from here and followed these build instructions:
mkdir build
cd build
cmake -DCMAKE_INSTALL_PREFIX="/usr" ../
make -j$(nproc)
sudo make -j$(nproc) install
Steps 2 + 3 above came about when trying to debug an error I received when trying to use OpenOCD and flash the Squirrel. Unsure if this is needed since I believe the solution is presented in “4.1” further down with “–enable-ftdi”:
Error: The specified debug interface was not found (ftdi)
The following debug adapters are available:
1: buspirate
2: xlnx_pcie_xvc
4) As per LambdaConcept’s instructions:
4.1) In your Terminal (thanks @CuriosoCat for “–enable-ftdi”):
git clone https://github.com/ntfreak/openocd.git
cd openocd
./bootstrap
./configure --enable-ftdi
make -j$(nproc)
sudo make -j$(nproc) install
5) To run OpenOCD without “root” (sudo) as is recommended (thanks theCore):
sudo cp ./contrib/60-openocd.rules /etc/udev/rules.d/
sudo udevadm trigger
Flashing the pcileech-fpga firmware
1) As per LambdaConcept’s instructions:
1.1) Download “flash_screamer.zip” and unzip it
1.2) In the directory where you compiled the firmware for the PCIeSquirrel, in my case:
~/Downloads/pcileech-fpga-4.15/PCIeSquirrel
there should now be a file named “pcileech_squirrel_top.bin”, in my case:
~/Downloads/pcileech-fpga-4.15/PCIeSquirrel/pcileech_squirrel/pcileech_squirrel.runs/impl_1/ pcileech_squirrel_top.bin
move this to the unzipped “flash_screamer” directory
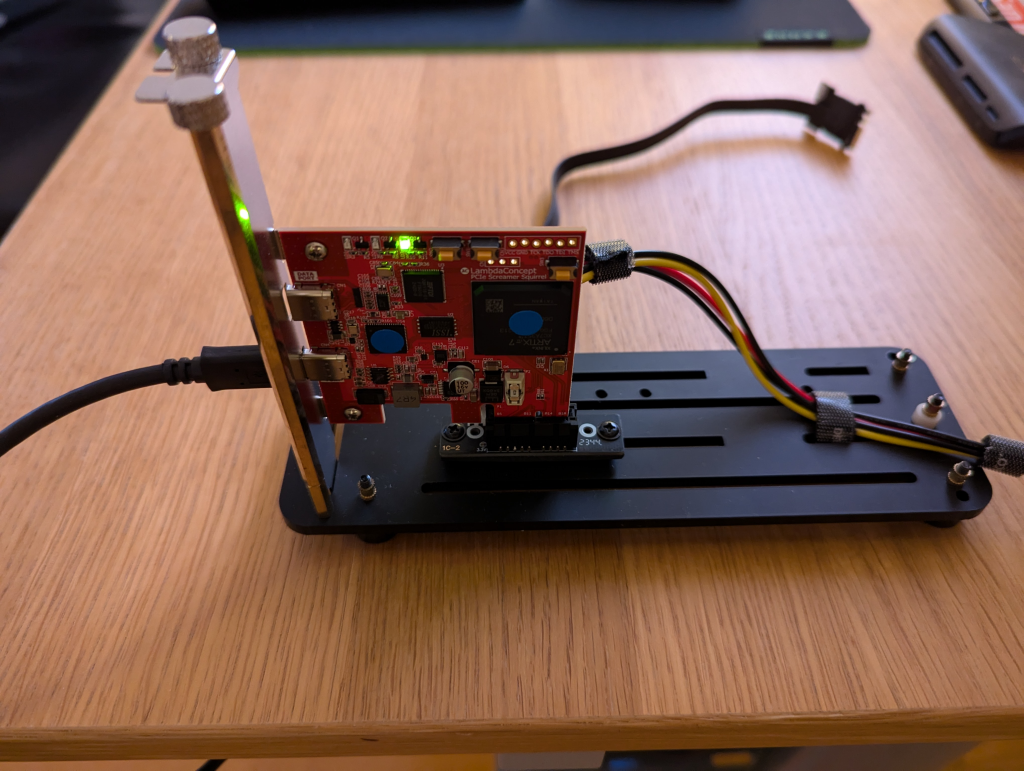
1.3) Make sure to connect to your PCIeSquirrel’s “UPDATE”-port as well as to power it through a PCI-Express port
1.4) While in your “flash_screamer” directory in your Terminal:
openocd -f ./flash_screamer_squirrel.cfg1.5) Hopefully the flash will go through without any issues, I accidentally moved the “pcileech_squirrel.bin” located in:
~/Downloads/pcileech-fpga-4.15/PCIeSquirrelto the “flash_screamer”-directory instead of the “pcileech_squirrel_top.bin” located in:
~/Downloads/pcileech-fpga-4.15/PCIeSquirrel/pcileech_squirrel/pcileech_squirrel.runs/impl_1Now these are the exact same file as shown below:
infinitebsod@infinitebsod:~/Downloads/pcileech-fpga-4.15/PCIeSquirrel$ sha256sum pcileech_squirrel.bin

ae1cd87ee9d46d1e659569008e86b18fcc50c07266cbd9b0086996e33f0309cd pcileech_squirrel.bin

infinitebsod@infinitebsod:~/Downloads/pcileech-fpga-4.15/PCIeSquirrel/pcileech_squirrel/pcileech_squirrel.runs/impl_1$ sha256sum pcileech_squirrel_top.bin

ae1cd87ee9d46d1e659569008e86b18fcc50c07266cbd9b0086996e33f0309cd pcileech_squirrel_top.bin
However the “flash_screamer_squirrel.cfg” file looks for “pcileech_squirrel_top.bin”.
So I guess you could use the file (pcileech_squirrel.bin) located in “~/Downloads/pcileech-fpga-4.15/PCIeSquirrel” and rename it to “pcileech_squirrel_top.bin”.
I guess you also might edit the “flash_screamer_squirrel.cfg” so it looks for a file named “pcileech_squirrel.bin” instead of “pcileech_squirrel_top.bin”.
I didn’t try this though.
The error I received before I moved the file named “pcileech_squirrel_top.bin” was:
Info : JTAG tap: xc7.tap tap/device found: 0x0362d093 (mfg: 0x049 (Xilinx), part: 0x362d, ver: 0x0)
Error: Unknown flash device (ID 0x000000)
I hope to write another braindump / guide on how to create a modified firmware for the PCIeSquirrel with customized device type, vendor ID and product ID.
1.6) Verify that everything is working by switching from the PCIeSquirrel’s “UPDATE”-port to the “DATA”-port and downloading the latest version (in my case 4.18.1) of pcileech, extracting it and while in the directory of the extracted zip in the Terminal run:
sudo ./pcileech probe -device fpga -vwhich in my case returned:
[+] using FTDI device: 0403:601f (bus 2, device 4)
[+] FTDIFTDI SuperSpeed-FIFO Bridge000000000001
DEVICE: FPGA: ERROR: Unable to retrieve required Device PCIe ID [4,v4.14,0000]
PCILEECH: Failed to connect to the device.
“Failed to connect to the device” is due to the fact that the PCIeSquirrel isn’t connected to my computer through PCIe and therefore it doesn’t have any connection other than through USB.
An example would be if you were to use PCILeech and connect the PCIeSquirrel to a target computer (using PCIe / a M.2 “M”/”A”+”E”-slot or likewise) and run the same command on your host computer which would indicate that the USB-connection to your host (“attacker”) is working but PCILeech can’t connect using the PCIeSquirrel to your target (“victim”) computer.
The “v4.14,0000” in the output above is what indicates that the flash was successful.
This is all for now, hope you found this helpful 🙂
/InfiniteBSOD
Leave a Comment